
How to thoroughly clean deep and shallow lines and tiny air vents with laser
The deep and shallow patterns and fine venting grooves of injection molding, die casting, and rubber molds are key structural features in product molding. During long-term production, mold release agent residue, carbon deposits, vulcanized rubber stains, and high-temperature oxides easily become trapped inside these grooves. Utilizing a mold-specific protective laser cleaning process, through machine selection, precise parameter settings, and standardized cleaning techniques, a thorough, all-around cleaning of deep and shallow patterns and fine venting grooves can be achieved while preserving the mold’s nitrided layer and surface coating.
Table of Contents
Challenges in Cleaning Deep and Shallow Textures and Small Vent Grooves
Complex Spatial Structure: Vent grooves are typically 0.05~0.3mm wide and 0.2~1mm deep, with depth variations reaching several millimeters. The depth of the grooves blocks light, making it difficult for laser beams to directly reach the dirt at the bottom of the groove.
Strong Adhesion of Stains: After repeated high-temperature molding, organic matter carbonizes and hardens, firmly embedding itself in the tiny pores of the groove wall, making it difficult to remove with conventional energy.
High Requirements for Surface Protection: Most mold groove edges have nitrided or chrome-plated layers. Excessive energy can easily burn the coating, while insufficient parameters cannot clean the dirt at the bottom of the groove.
Secondary Adhesion of Residue: Dust from cleaning and vaporization easily remains in the narrow grooves. Without airflow guidance, it will re-adhere to the groove walls, causing secondary contamination.
Equipment Selection Recommendations
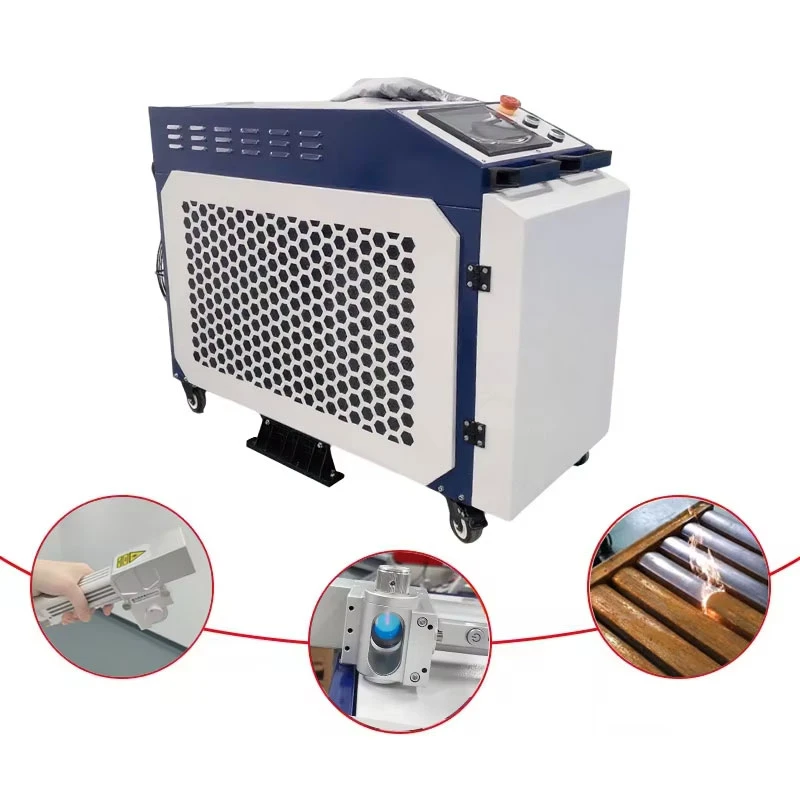
For cleaning narrow grooves and deep textures, a 1000W~2000W nanosecond pulsed fiber laser cleaning machine is preferred, while continuous laser models should be avoided.
Galvanometer Configuration: An adjustable-spot precision galvanometer is used, supporting small spot focusing switching. The spot size can be freely adjusted between 0.2mm and 5mm, allowing for small spot alignment with narrow grooves and large spot rapid processing of planar textures.
Pneumatic Components: An adjustable high-pressure cold air blowing device is standard, with segmented and controllable air pressure. Cleaning simultaneously blows away waste residue in the tank, preventing dust accumulation.
Machine Configuration: Handheld flexible models are suitable for scattered molds, while automated three-axis linkage models are suitable for batch cleaning of standardized mold grooves.
Standardized Practical Cleaning Procedures
Step 1: Pre-treatment before cleaning
Use an air gun to blow away loose slag from the mold surface. For large, solidified clumps, gently remove them with a fine copper brush to reduce laser load. Perform a small sample cleaning in unused areas at the mold’s edges to confirm that parameters will not damage the nitriding or plating before proceeding with the main cleaning.
Step 2: Sequential cleaning by zone
Follow the principle of cleaning fine grooves first, then deep textures; starting with edges and corners, then larger surfaces. Prioritize cleaning each venting groove individually, moving at a constant speed along a single line, avoiding large-scale scanning across grooves. For textured areas, scan repeatedly along the texture direction, reducing the speed and increasing the number of scans at the boundary between light and dark areas.
Step 3: Continuous air blowing during cleaning
Keep the matching air blowing system running throughout the process, with the airflow direction at a 30° angle to the laser beam direction. Immediately blow away vaporized dust to prevent residue from falling back and getting stuck in the cleaned grooves. If localized residue is found, immediately reduce the spot size and perform targeted cleaning; do not increase power over a large area.
Step 4: Final Inspection and Cleaning
After all cleaning is completed, apply atmospheric pressure to blow through all the grooves. Visually inspect the groove walls for black stains and residue, and ensure the plating at the groove openings is intact and undiscolored. For narrow exhaust grooves that are difficult to see with the naked eye, use a strong flashlight to check for residues.
Advantages of Laser Cleaning Compared to Traditional Cleaning
Sandblasting thins the venting grooves, damages the texture and edges, and chemical solutions seep into narrow grooves, making them difficult to rinse clean and easily corroding the nitriding layer. Dry ice low-temperature impacts can cause cracks in the narrow grooves. In contrast, laser cleaning with precisely controlled parameters can remove 100% of stubborn stains from the grooves while fully preserving the original coating and nitriding layer dimensional accuracy of the mold. This significantly reduces mold repair and re-nitriding costs, and shortens mold downtime for maintenance.
FAQ
Incomplete cleaning of localized carbon deposits at the bottom of the tank
Causes: Insufficient direct beam illumination, excessively large beam spot; Solution: Reduce beam spot size, tilt the gun to the side, perform multiple low-speed overlapping scans, slightly increase pulse frequency.
Slight whitening or discoloration of the coating at the tank opening
Causes: Excessive localized heat accumulation; Solution: Reduce single-pulse energy, increase gun movement speed, break down single scans, and use multiple light sweeps.
Dust repeatedly adheres to the tank interior
Causes: Insufficient air pressure, incorrect airflow direction; Solution: Increase air pressure, adjust air outlet angle, perform intermittent segmented blowing.
Conclusion
If you have troubles with residual dirt in deep grooves and tiny vent slots of molds, our technical team can provide customized laser cleaning parameter solution and free sample test. Contact us to get professional mold maintenance suggestion.