
Laser Marking Machine Focal Length Adjustment Method
In laser marking, problems such as blurry lettering, inconsistent depth, and localized scorching often lead most people to immediately think, “Is the laser broken?” However, in 90% of cases, the problem lies in the focal length. A 1mm deviation in focal length can reduce the laser spot energy density by more than 50%, resulting in drastically different effects. This article thoroughly explains how to adjust the focal length of a laser marking machine; it’s recommended to save it for future reference.
Table of Contents
What is focal length?
A laser beam is focused into a small spot after passing through a field lens. The plane with the smallest spot is called the focal plane. The distance from the focal plane to the workpiece surface is the focal length.
Focal length too large (workpiece below the focal plane): Spot divergence, low energy density → shallow marking, blurry edges.
Focal length too small (workpiece above the focal plane): Spot overlap, energy too concentrated → burns, blackening, over-carbonization.
Precise focal length: Smallest spot size, uniform energy → clear markings, achieving the required depth.
Therefore, the focal length is the first step in determining the marking effect. It’s not power, not frequency, but focal length.
Four-step debugging method
Step 1: Preparation
Prepare test samples of the same material.
Clean the worktable and ensure the workpiece is stable.
Wear protective eyewear (1064nm protective goggles for fiber optic machines).
Create a “回”-shaped test file in the marking software.
Step 2: Coarse Adjustment of Reference Values
Fiber optic marking machine: approx. 210-250mm
CO₂ marking machine: approx. 180-200mm
UV marking machine: approx. 160-185mm
Adjust the Z-axis to near the reference value as the starting point.
Step 3: Trial Engraving Comparison (Crucial Step)
Low power (20-30%), low frequency setting
Engrave a “回” (hui) character on the workpiece
Adjust the Z-axis upwards by 2mm, then engrave again
Adjust the Z-axis downwards by 2mm, then engrave again
Compare the three results; use the clearest result.
Step 4: Red Light Preview Assistance (Higher Efficiency)
Many models now support coaxial red light preview (standard across all Guanli Laser models), allowing for quick positioning:
Turn on red light preview mode
Observe the size of the light spot on the workpiece surface
Adjust until the light spot is the smallest, roundest, and brightest
Finally, use the trial engraving method to verify and confirm.
FAQ
Should I readjust the focus when changing workpieces?
It depends on the thickness. If the workpiece thickness difference is within 2mm, the focus generally doesn’t need to be adjusted. If it exceeds 2mm or the surface is uneven, you need to readjust.
How to handle curved workpieces?
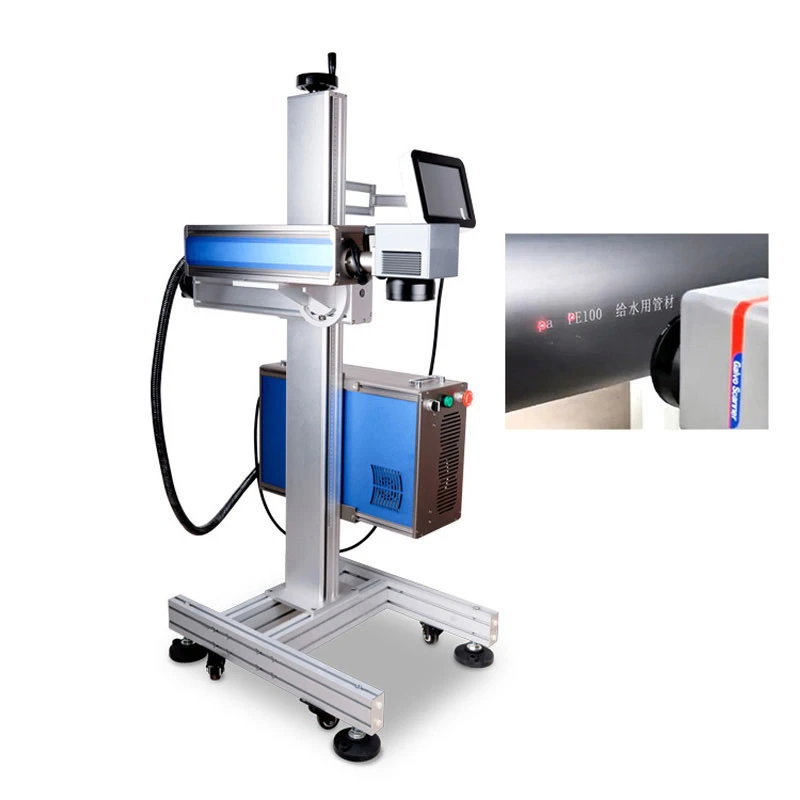
Use a Z-axis follow-up system (flying engraving function). With a sensor, the Z-axis will automatically follow changes in the workpiece surface height. If the surface is complex, manual fine-tuning in sections is recommended.
Why is the text becoming lighter while printing?
This may be due to focus drift. After 2-4 hours of continuous operation, it is recommended to recalibrate the focus. Also, regularly clean the field lens and galvanometer lenses to prevent contamination from affecting beam quality.